What Shrike model: Shrike with a keyhole cockpit
Modifications: I wanted the print at 95% but it turned out to be 97,7%, I decided to go with that.
Then I raised the gunwales by 1,5 cm to allow for my size 46... My feet fit comfortably, much better than in a Greenland T.
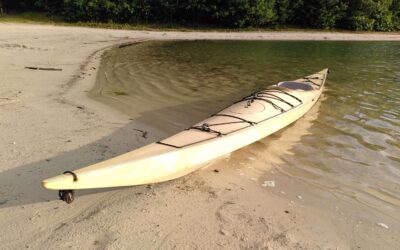
I used the low masik to accommodate a front hatch. I shortened bow and stern so that I had 2 joints less. So, my Shrike is just under 5 m.
For the deck-lines, I opted for the 3d print, a nice touch.
For the cockpit coaming, I used the CLC method with 3 layers of 6 mm birch ply with a rim of 2 layers of 3 mm ply. Both deck and coaming follow the shape of the thigh braces, making this part very strong. I didn't bother to glass the coaming.
To make it simple and light, I didn't build a skeg.
Weight: 14.5 kg
Tips: Read the manual a few times and then every day when you start building. I made a map with the manual and then added the builders' tips and the interesting (for me) modifications from the gallery. It took me some time to get the courage to get started. Don't be afraid, just do it!
On the water: It's a beautiful looking kayak that is fun to paddle and roll