What model Shrike did you choose?
Shrike
What modifications, if any, did you make to the design described in the Build Manual?
For the deck line fittings I used small closed loops of tape so that the screws were hidden inside the loop.
I changed the profile of the skeg box so as to fit more closely the shape of the skeg. I used layers of plywood to form the perimeter spacer. I also made the skeg 9mm thick from three layers of plywood, and shaped an hyrdrofoil cross section on the blade. I carved a skeg glide box in timber for the hand to operate the skeg.
I widened the cockpit near the seat, and enlarged the thigh braces to narrow the opening at the front of the cockpit.
I lowered the masik to give the knee support I desired, and to make the front deck easier to fit.
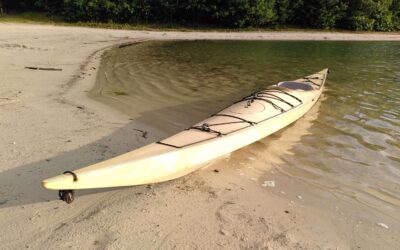
What is the weight of the finished kayak?
18 kg
Anything you wish you had done differently?
Made the foot plate larger to make more foot room.
Any tips you’d like to suggest to future builders?
Building in a warm place will help the penetration of epoxy resin into the glass cloth and tape. Epoxy loves heat, and 15 degrees C (60 F) or more is good, especially when rolling finishing coats of resin on the plywood.
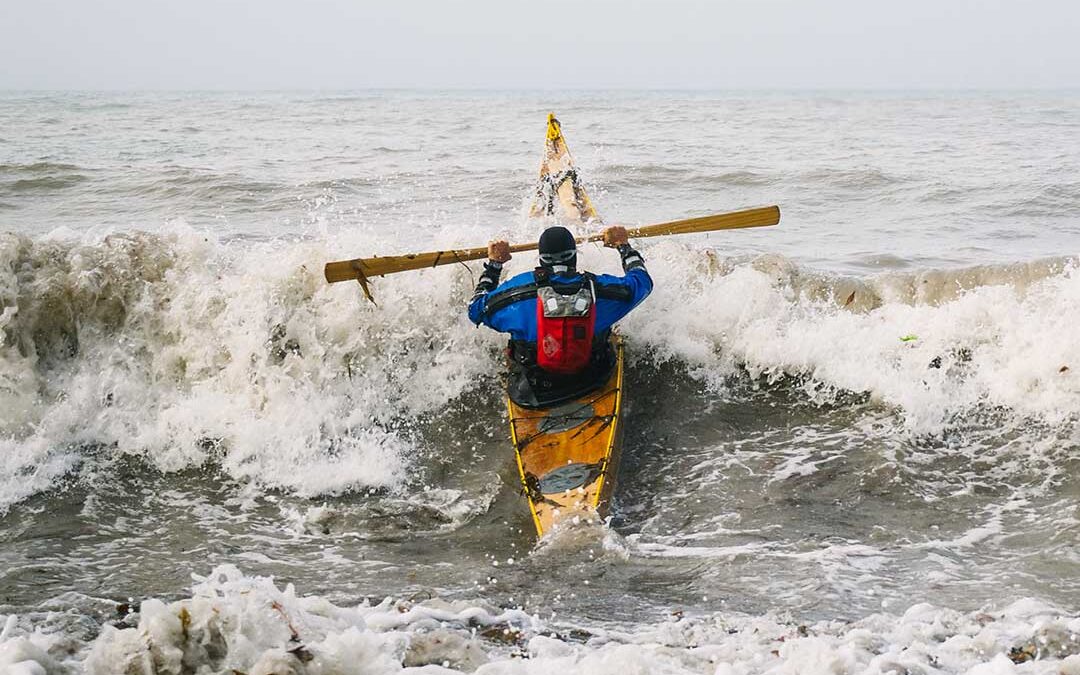
How does the kayak perform on the water?
Great! I’ve taken the Shrike to a Sea Kayaking festival in Spain, where the wind reached Force7/8, and the kayak performed superbly. The Shrike requires more skill to paddle in rough water than a heavy and less responsive kayak, but the rewards are instant response to paddle strokes. I find that the Shrike turns well with a small amount of edge, or a large amount of edge, but not as well with an intermediate edge, but perhaps that’s just me.
Here is a picture of the skeg box shape: