1. Hull: I have used 3 mm plywood for the deck but 4 mm plywood for the bottom and side panels. For some reason the 3mm plywood was very expensive when I bought my material.
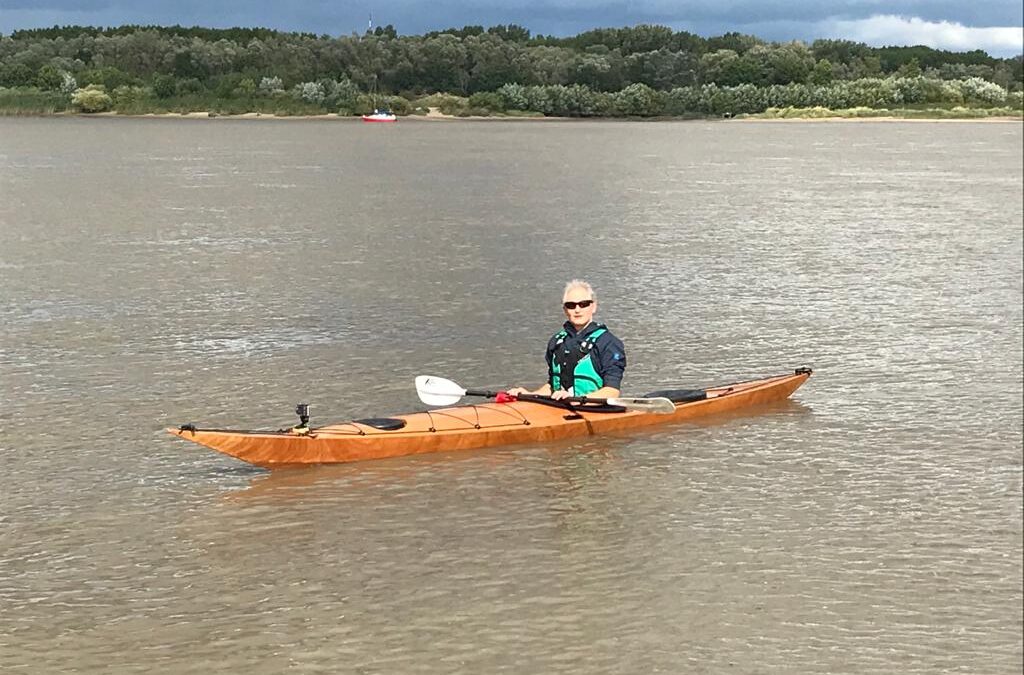
2. Deck: I have changed the split of the panels. The smallest panel is on the bow and covers the flat part up to 700 mm measured from the bow. The next panel extends to the rear end of the cockpit. The third panel then runs to the stern. I had the feeling that this allows an easier installation of the large plywood sheet between the cockpit and the bow. The cutting line between the panels on the foredeck is circular shaped. This represents the projection of the barreled panel in front of the masik onto the flat panel installed on the bow.
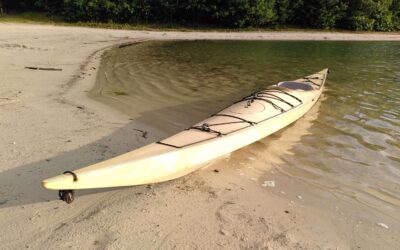
3. Skeg: The skeg is triangular shaped with the sharp edge pointing forward. It is made from 4 mm plywood and the shape is copied from a production Kayak I like. So far it works quite well and is 100% water tight. As a slider I'm using a standard kajak sport product.
4. The cockpit rim is made from 4 or 5 plywood layers that have the shape of the cockpit opening. They are glued together on the deck to give it the required 3 D shape. Each layer is a 4 mm plywood left over from the hull building process and has a width of 15 mm. I believe a similar approach has been chosen for the CLC kayaks.
5. The hatches I have used are from kayak sport as well. This product sticks out by about 35 mm but my experience is that they are 100% watertight when lubricated with silicone oil. They have to be installed on a flat surface which is not an issue on the aft deck. On the foredeck the flat surface had to be created by cutting a circular opening into the barreled deck panel and by implementing a flat circular frame as a foundation for the hatch.
6. The seat has been built by laminating glassfibre left overs on a positive mold that I did create from an old IKEA chair and some cardboard and tape.